
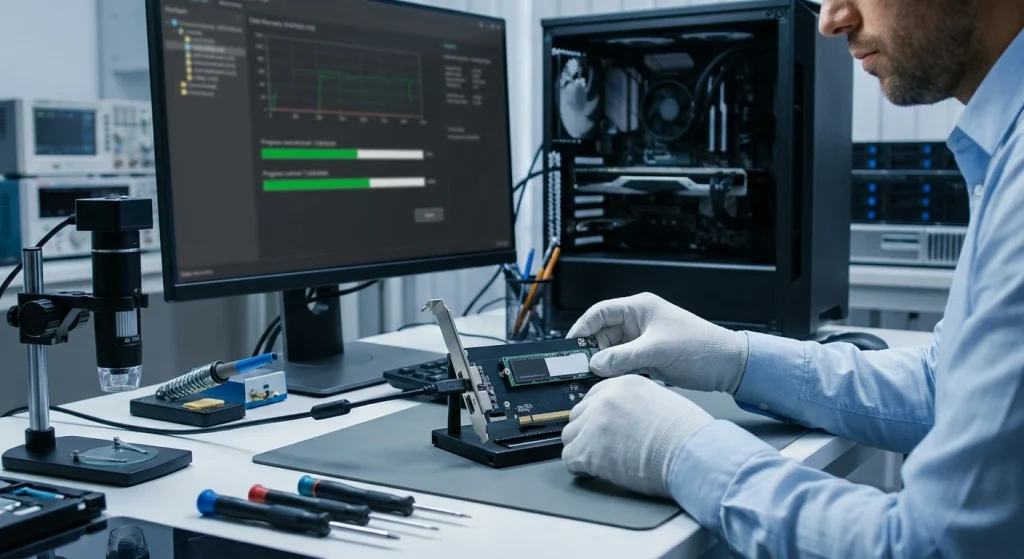
When an NVMe SSD suddenly becomes unreadable, disappears from Windows, shows as RAW, freezes during file copying, or asks you to format it, the first instinct is usually to install data recovery software and scan the drive.
That is not always the safest first move.
A corrupted NVMe SSD can fail for several different reasons:
- File-system corruption
- Partition table damage
- Accidental deletion or formatting
- Firmware problems
- NAND flash degradation
- Controller failure
- PCIe or M.2 connection problems
- Overheating
- A drive entering read-only mode
- Sudden power loss during a write operation
The correct recovery method depends on what has actually failed.
The most important rule is simple:
If the data is valuable, do not write anything to the affected NVMe SSD until you understand the problem.
Windows itself recommends backing up data when an NVMe drive reports a critical warning. NVMe health information can also indicate degraded reliability, low spare capacity, overheating, or a drive that has switched to read-only mode.
This guide explains a practical recovery workflow—from the easiest logical corruption cases to situations where professional recovery may be the only realistic option.
While data recovery can fix a broken drive, keeping an automatic backup is the easiest way to keep your files safe forever.
Check out the best cloud backup storage services 2026 to secure your data.
Quick Answer: What Should You Do First?
If your NVMe SSD is corrupted or failing, follow this order:
- Stop saving new files to the drive.
- Do not format it when Windows asks.
- Do not reinstall Windows onto the same SSD.
- Check whether the drive is detected in BIOS or Disk Management.
- Check the NVMe health status.
- If the drive is stable, copy or clone important data first.
- Run non-destructive diagnostics before repair commands.
- Recover files from an image or clone whenever possible.
- Use repair tools only after important data is secured.
- Stop DIY attempts if the SSD repeatedly disconnects or is not detected.
This approach is safer than immediately running repair commands because some repair operations modify file-system metadata.
Before You Start: Identify Which Type of NVMe Failure You Have
Not every “corrupted SSD” is physically damaged.
Scenario 1: The NVMe SSD Is Detected and Files Are Accessible
Symptoms:
- Windows opens the drive.
- Some files are missing.
- File copying causes errors.
- The drive occasionally freezes.
- Windows reports file-system errors.
Best approach: Copy critical files immediately, then diagnose the file system.
Scenario 2: Windows Detects the Drive but Says It Needs Formatting
You may see messages such as:
“You need to format the disk before you can use it.”
Do not format the drive yet.
This can happen when the partition or file system is damaged. The data may still exist even if Windows cannot mount the volume normally.
Scenario 3: The NVMe SSD Appears as RAW
A RAW status usually means Windows cannot recognize a valid file system.
Possible causes include:
- NTFS corruption
- Partition damage
- Interrupted write operations
- Sudden power loss
- Metadata corruption
Best approach: Avoid writing to the drive. Consider creating an image first, then perform recovery on the image.
Scenario 4: The NVMe SSD Is Read-Only
This is an important case.
NVMe health information can indicate that the device has entered read-only mode, meaning the stored data may still be accessible but new data cannot be written. Microsoft specifically identifies read-only status as one of the critical NVMe storage warnings.
If this happens:
Do not try to force the drive back into normal writable use before securing your files.
Instead:
- Copy important data.
- Clone or image the SSD if possible.
- Replace the drive after recovery.
A drive entering read-only mode may be protecting itself from further damage.
Scenario 5: The SSD Randomly Disconnects
Symptoms include:
- The drive disappears from Windows.
- File Explorer freezes.
- The PC becomes unresponsive.
- The drive reappears after restarting.
- Copying large files causes disconnection.
Possible causes include:
- Controller instability
- PCIe communication problems
- Overheating
- Firmware issues
- NAND or hardware failure
Windows documentation also identifies device resets, repeated I/O operations, and surprise removal events as indicators worth investigating when troubleshooting storage corruption or disk errors.
If the data is important, avoid repeatedly restarting and scanning the drive. Try to capture the data or create an image while the drive remains stable.
Data recovery can fix a failing drive, but having a backup is the easiest way to protect your files long-term.
To keep your files safe, check out the best cloud backup storage services 2026. If you want to learn how remote storage and online servers actually work, read this simple cloud computing storage guide.
Step 1: Stop Doing Things That Can Make Recovery Worse
Before using any recovery tool, stop these actions:
- Do not format the SSD.
- Do not reinstall Windows on it.
- Do not download recovery software onto the affected SSD.
- Do not move recovered files back onto the same SSD.
- Do not repeatedly run repair commands.
- Do not keep rebooting a drive that repeatedly disappears.
- Do not initialize the disk if Windows asks you to initialize it.
A simple rule:
Recover data from the affected drive to a different physical drive.
For example:
Bad NVMe SSD → External HDD / Another SSD
Never:
Bad NVMe SSD → Recover files → Save recovered files back to the same NVMe SSD
Step 2: Check Whether the NVMe SSD Is Detected
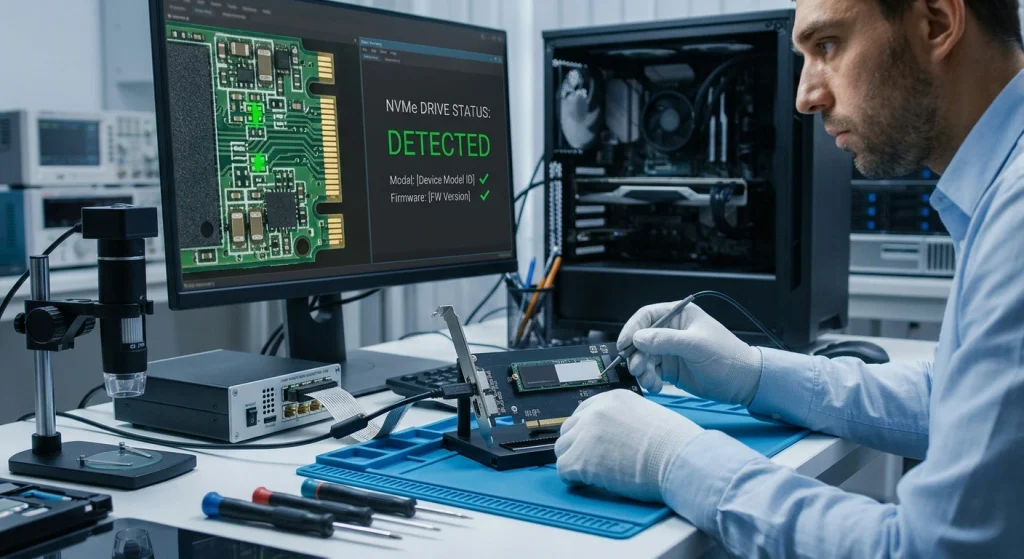
The first diagnostic question is:
Does the computer still see the SSD?
Check:
In BIOS or UEFI
Restart the computer and check whether the NVMe drive appears in storage information.
If it does not appear in BIOS, the problem may be more serious than ordinary Windows file-system corruption.
In Windows Disk Management
Press:
Windows + X → Disk Management
Look for the NVMe SSD.
You may see:
- Healthy partition
- RAW
- Unallocated space
- Offline
- Unknown
- Not initialized
Important: Do not automatically click Initialize.
If the disk previously contained important data, initialization can complicate recovery.
Step 3: Check NVMe SSD Health Before Attempting Repairs
NVMe drives report health information such as:
- Critical warnings
- Temperature
- Available spare capacity
- Percentage used
- Media or internal reliability issues
According to the NVMe specification, critical warnings can indicate low spare capacity, excessive temperature, degraded reliability, or read-only mode.
What You Are Looking For
Critical Warning
If present, treat the drive as potentially unstable.
Reliability Degraded
This can indicate significant media-related errors or an internal problem affecting reliability.
Read-Only Mode
This is often a sign to prioritize copying data immediately.
High Temperature
If the SSD is overheating, allow the system to cool and improve airflow before continuing recovery attempts.
Media Errors
A growing number of errors is a warning sign that you should prioritize imaging rather than repeatedly scanning the live drive.
Step 4: If the Drive Still Opens, Copy the Most Important Files First
If the SSD is still readable, do not start with a full repair.
Copy your most valuable data first.
A practical priority order is:
- Documents
- Photos
- Videos
- Project files
- Databases
- Work files
- Browser profiles or application data
- Everything else
Start with the files that cannot easily be replaced.
If copying a large folder causes the system to freeze, stop forcing repeated copy attempts. That can indicate read instability.
Step 5: Run a Non-Destructive File-System Check
If the drive appears stable, you can first inspect it without immediately repairing it.
On Windows, a scan can be performed using:
chkdsk X: /scanReplace X: with the affected drive letter.
The /scan approach checks for file-system problems without using the repair options that modify the volume. Microsoft documents chkdsk as a tool for checking file-system and metadata errors and also recommends a scan-first approach when diagnosing storage corruption.
Why Scan Before Repair?
Because these are not equivalent:
chkdsk X: /scanand
chkdsk X: /fThe first checks.
The second attempts to fix errors.
If your data is extremely important, secure the data first before using repair commands.
Step 6: When Should You Use CHKDSK /F?
After your important data has been copied or cloned, you may consider:
chkdsk X: /fThis attempts to fix file-system errors.
Microsoft documents /f as a repair option, while /scan is useful for checking the volume first.
Avoid Using Repair as Your First Recovery Method
Do not think of CHKDSK as a universal data recovery tool.
If the SSD has:
- Important missing files
- Serious corruption
- Random disconnections
- Hardware errors
- Read failures
creating a copy or image may be safer than repairing the only copy of the damaged file system.
Step 7: Create an Image of the Corrupted NVMe SSD
This is where many data recovery guides become too simplistic.
If an NVMe SSD is unstable but still readable, working directly on the original drive can be risky.
A better strategy is:
Create a sector-by-sector image or clone first, then perform recovery work on the copy.
This preserves the original SSD as much as possible.
What You Need
- The affected NVMe SSD
- Another storage device with enough free space
- A stable computer
- Reliable cooling and power
The destination must be at least large enough for the source data or disk image, depending on the recovery method.
Step 8: Use GNU ddrescue for an Unstable but Readable Drive
For drives that produce read errors, GNU ddrescue is designed to copy readable areas while keeping track of problematic areas.
A major advantage is its mapfile, which records recovery progress so an interrupted operation can continue later rather than starting from zero.
A basic example is:
sudo ddrescue -n /dev/nvme0n1 nvme-image.img rescue.logThe exact device name is critical.
On Linux, NVMe drives may appear with names such as:
/dev/nvme0n1
/dev/nvme1n1
Warning: Selecting the wrong source or destination can overwrite data.
For difficult sectors, a later recovery pass may use controlled retries, but repeatedly forcing a failing SSD to read problematic areas is not always the best strategy. The general recovery principle is to capture the easily readable data first, then decide whether additional attempts are worthwhile. ddrescue’s recovery workflow and mapfile design are intended for this kind of staged approach.
For highly valuable data, it is safer to have an experienced technician handle imaging.
Step 9: Recover Files From the Image, Not the Original Drive
Once you have created an image or clone, perform recovery against that copy.
This is a major practical advantage.
Instead of repeatedly scanning the original:
Original failing NVMe → Image/Clone → Recovery Software
You can then try different recovery methods without repeatedly stressing the original SSD.
Depending on the damage, recovery software may be able to reconstruct:
- Deleted files
- Lost partitions
- NTFS structures
- FAT/exFAT structures
- File signatures
The best recovery method depends on whether the problem is:
- Logical corruption
- Deleted data
- Partition loss
- File-system damage
- Hardware instability
Step 10: Understand the SSD TRIM Problem
One major difference between HDD and SSD recovery is TRIM.
When files are deleted on many SSD configurations, the operating system can inform the SSD that the blocks are no longer needed. The SSD controller may then erase or internally recycle those blocks.
Because of this, deleted-file recovery on an SSD can be less predictable than on a traditional hard drive.
This means:
If files were accidentally deleted from an NVMe SSD, stop using the drive immediately.
Every additional write operation may reduce recovery possibilities.
Step 11: What If the NVMe SSD Shows as RAW?
If Disk Management shows the partition as RAW:
Do This First
- Stop writing to the drive.
- Check whether the disk remains stable.
- Copy an image if possible.
- Perform partition or file recovery on the image.
Do Not Immediately Do This
format X:Formatting may overwrite metadata needed for easier recovery.
Some logical corruption cases are recoverable, but the correct method depends on whether the partition structure, boot sector, file system, or other metadata is damaged.
Step 12: What If the SSD Is Detected but Shows 0 Bytes?
This is more serious.
A 0-byte NVMe drive may indicate:
- Controller problems
- Firmware failure
- Incorrect capacity reporting
- Internal initialization failure
Software recovery may not work if the SSD cannot provide normal access to its flash translation layer.
In this situation, avoid:
- Repeated formatting
- Repeated initialization
- Random firmware flashing
- Repeated power cycling
If the data is valuable, professional SSD recovery may be necessary.
Step 13: What If the NVMe SSD Is Not Detected at All?
First rule out simple problems:
Check the M.2 Connection
Power off the computer before checking hardware connections.
Possible issues include:
- Loose installation
- Unsupported M.2 slot configuration
- Motherboard configuration problems
- Adapter enclosure problems
If possible, test the SSD using another compatible system or a reliable NVMe enclosure.
However, if the SSD repeatedly disconnects or becomes undetectable, avoid endless connection attempts.
A drive that is not detected at the hardware level is generally not a normal file-system recovery case.
Step 14: When You Should Stop DIY Recovery
You should seriously consider professional help when:
- The SSD is not detected in BIOS.
- The capacity shows as 0 bytes.
- The SSD repeatedly disappears.
- The system freezes whenever the drive is accessed.
- The drive reports serious NVMe critical warnings.
- Important business, school, or personal data exists only on that drive.
- You hear unusual behavior from the system during storage access and cannot establish a stable connection.
- Recovery attempts could cause permanent loss of irreplaceable data.
Professional SSD recovery is different from ordinary software scanning because SSD data may depend on controller behavior, NAND organization, firmware, and internal translation mechanisms.
A Practical NVMe SSD Recovery Decision Tree
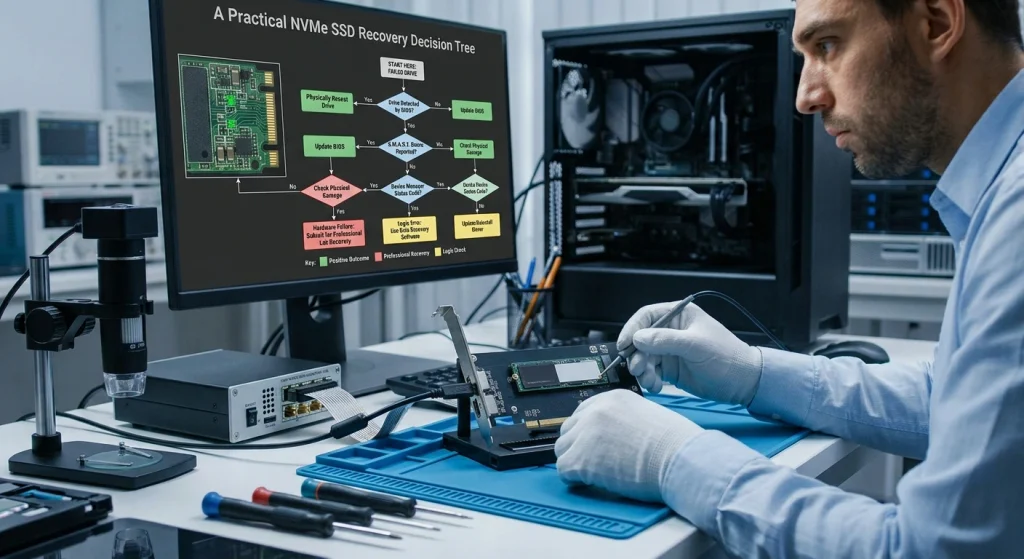
Case A: Drive Opens Normally but Files Are Missing
Action:
- Stop writing.
- Copy important files.
- Create a backup or image.
- Investigate logical recovery.
Case B: Windows Says “Format Disk”
Action:
- Do not format.
- Check Disk Management.
- Determine whether the drive is RAW or has lost its partition.
- Create an image if stable.
- Recover from the image.
Case C: Drive Is Read-Only
Action:
- Copy data immediately.
- Create an image if possible.
- Do not attempt to use it as a normal drive again.
- Replace the SSD after recovery.
Microsoft identifies read-only mode as an NVMe critical storage warning where existing data may still be accessible but cannot be written.
Case D: Drive Randomly Disconnects
Action:
- Stop unnecessary scans.
- Check temperature and connection stability.
- Attempt a controlled image or clone.
- If instability continues, stop DIY attempts.
Case E: Drive Is Not Detected Anywhere
Action:
- Verify compatibility and physical connection.
- Test with another compatible system if appropriate.
- If still undetected and the data matters, seek professional recovery.
Common Questions About Corrupted NVMe SSD Recovery
Can a corrupted NVMe SSD be recovered?
Yes, in many cases—but recovery depends on the cause.
Logical problems such as file-system corruption, deleted files, or partition damage may be recoverable with software.
Hardware failures involving the controller, NAND flash, or firmware can be significantly more difficult.
Possibly.
Do not format the drive immediately. Check whether the partition or file system is damaged and, if the drive is stable, create an image before attempting recovery.
Is CHKDSK safe for a corrupted NVMe SSD?
CHKDSK can check and repair file-system errors, and Microsoft documents /scan as a checking method and /f as a repair option. However, if the data is important, copying or imaging the data first is the safer workflow because repair operations modify file-system structures.
Can I recover data from a dead NVMe SSD?
It depends on what “dead” means.
If the SSD is still detected and readable, there may be recovery options.
If the controller has failed or the SSD is completely undetectable, ordinary recovery software may not be able to access the data.
Can deleted files be recovered from an NVMe SSD?
Sometimes, but SSD recovery can be more difficult because of TRIM and internal garbage collection.
Stop using the drive immediately after accidental deletion.
Should I freeze a failing NVMe SSD?
No. This is an old internet myth associated with traditional hard drives and is not an appropriate recovery method for modern NVMe SSDs.
Condensation and other environmental risks can make the situation worse.
Should I keep restarting the computer until the SSD appears?
No.
If the drive is unstable, repeated power cycles may not improve recovery chances. If the SSD becomes readable, prioritize copying or imaging important data instead of continuing normal use.
The Biggest Mistakes People Make During NVMe Data Recovery
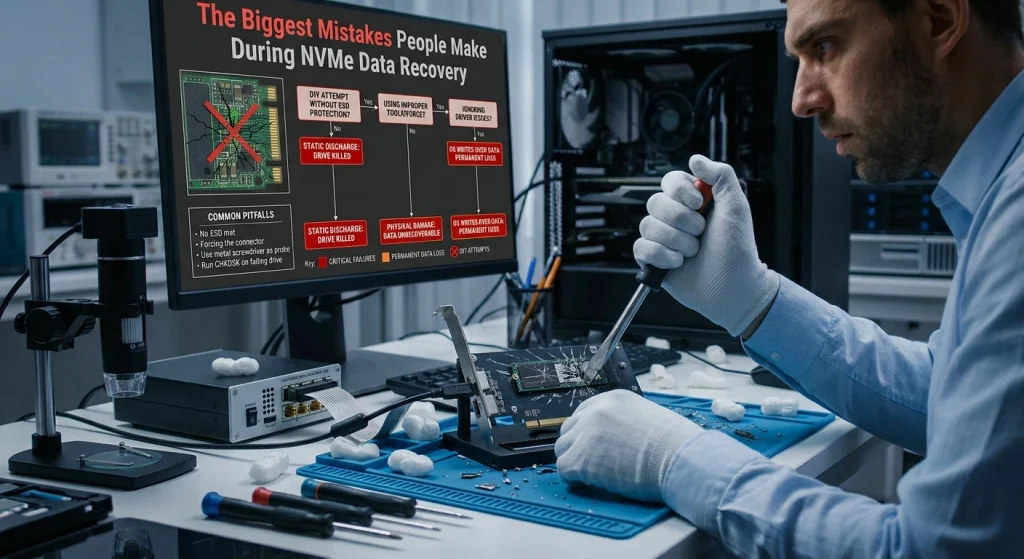
Mistake #1: Formatting the Drive Immediately
Windows may suggest formatting because it cannot read the file system.
That does not automatically mean the files are gone.
Mistake #2: Installing Recovery Software on the Same SSD
This can overwrite recoverable data.
Always install recovery tools on another drive.
Mistake #3: Recovering Files Back to the Same SSD
Always use a separate destination drive.
Mistake #4: Running Multiple Repair Tools One After Another
If the first repair changes the file system, another tool may see a completely different structure.
Secure the data first whenever possible.
Mistake #5: Ignoring NVMe Health Warnings
A critical warning, degraded reliability, or read-only status should be treated seriously. NVMe SMART and health information is specifically designed to report these types of conditions.
Best Practical Recovery Workflow
Here is the workflow I would recommend in real-world situations:
Stage 1: Protect the Original
Stop writing to the SSD.
Stage 2: Check Detection
Check BIOS and Disk Management.
Stage 3: Check Health
Look for NVMe warnings, temperature problems, degraded reliability, read-only status, and media errors.
Stage 4: Copy Critical Files
If the drive is stable, copy irreplaceable files immediately.
Stage 5: Create an Image
If corruption or instability exists, create an image or clone.
Stage 6: Recover From the Copy
Use recovery software or file-system repair techniques on the image instead of repeatedly modifying the original.
Stage 7: Repair Only After Data Is Safe
After important data is secured, you can attempt file-system repair or reformatting.
Stage 8: Replace an Unreliable SSD
Even if the drive starts working again, an SSD with serious reliability warnings should not automatically be trusted with important data.
Final Verdict
The best way to recover data from a corrupted NVMe SSD is not simply to search for the “best data recovery software.”
The correct order is:
Stop writing → Diagnose → Copy critical files → Image the drive → Recover from the image → Repair only after data is safe.
For simple logical corruption, recovery can be relatively straightforward.
For a drive that is disappearing, reporting critical NVMe warnings, showing 0 bytes, or failing to appear in BIOS, the situation may involve hardware or controller-level failure. In those cases, aggressive DIY experimentation can be riskier than carefully preserving the drive’s current state and seeking specialist help.
The biggest difference between successful and unsuccessful NVMe recovery is often not the recovery software itself.
It is what you do—or do not do—in the first few minutes after discovering the problem.

Dal Bahadur is a passionate tech enthusiast, hardware reviewer, and the founder of Phadera Tech. With years of experience in mobile technology and digital troubleshooting, he specializes in deep-dive smartphone reviews, gadget guides, and practical tech tips. His goal is to help readers make informed decisions before buying their next gadget.